The smell of savoury sponges of heaven, fresh out of the cooker as soon, as I got up is what I grew up with, just like many of my south indian friends. My mom makes these fluffy pillows called Idlis and eating them with spiced Chutney powder and onion chutney used to be my favourite way of starting the day since it mostly featured only during the breakfast.
After marriage, with full gusto, I tried to make these goodies for breakfast. But it was a total disaster. In the Seattle winter, my Idli's fell flat since fermentation is the name of the game when it comes to making them fluffy. Various experiments later, I actually find that fermented or not - if you keep the batter warm enough, even without proper fermentation, they still turn out as yummy.
If you dont stay in a warm place, just preheat Oven and...no .. no I am not going to tell you to keep your Oven light on or preheat, switch off and forget about it and find idli batter fermented magically in the morning advise yet again! I agree with Jugalbandits when they say that this method does not work for everyone. It certainly does not - I wish I had read their blog earlier to avoid many 'flat-chested' idlis ;)
Anyways what I used to do is also similar to what they have mentioned. I used to ( i say that since, the weather here is friendly to idli's and it ferments well enough) soak the lentils at night, grind them up first thing in the morning and place it in a preheated 100 F oven. I did not switch off the oven immedietly but like after 10 min. Then after 3-4 hours or so, when I found that the Oven had cooled down completely would switch on the Oven to 100 F again, let it get warm enough and continue this process for total 2-3 times. By night, the batter would have risen a little. Then I heat the oven well - 200 F, switch it off, leave the oven lights on and leave the batter for the night. The next morning, we enjoyed fluffy idlis. I also found out that instead of leaving it at night once again, making it with v little fermentation in this method also yielded good idlis.
Phew! Many who are wondering why all this trouble for some idlis, have ceratainly not had it with a delicious Sambar, onions/coconut chutney or simple Idli powder. Nothing beats out that combo. Without further ado, here are the ingredients.
** I have a funny incident with one of my friends who wanted to try idlis for the first time. The next day when our gang of friends met for our usual 'meet', she informed casually to why her idlis were not white instead they turned black! That really took us all aback since who ever heard of black idlis! How can you possibly burn idlis!!!! But the fact turned out to be she used Black whole lentils not the skinned variety!
Method
1.Soak the lentil and par boiled rice seperately for at least 6-8 hrs. I have used Wet grinder to make my batter but you can do the same with your food processor. First add the rice in your grinder and grind it well. The batter will not be smooth but little coarse-grained.
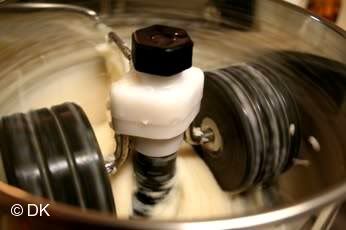
2.Remove and set aside in a large bowl. In the same grinder ( no you dont have to wash/clean) add the lentil along with cooked rice.
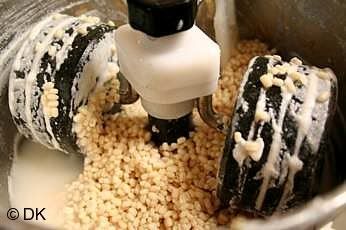
3.Grind it once again. This takes longer and longer the better idlis it makes. You need to keep adding little water now and then since it doubles up in volume when ground. When the batter is smooth ( feels like satin), remove and pour it along with rice batter.
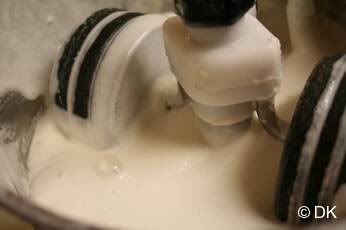
Add salt, mix well and set aside ( This is the point when you use the long rant after the first para into better use!:))
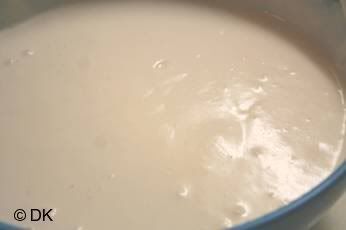
4. The next day, after fermenting, stir the batter well. I have a non stick Idli plate ( the variety of Idli plates one gets in the market is mind boggling!)
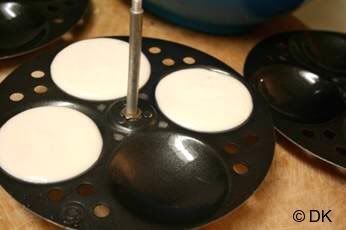
You can use small bowls if you dont have these plates to make them too.Pour out the batter in each of the plates.
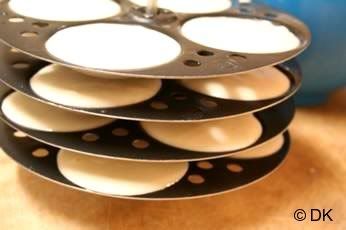
5.Place it in a pressure cooker (no weights reqd.) with little water underneath ( take care since lots of water will make the idlis in the last plate soggy and too little water will burn the bottom of the cooker!) or use a steamer. Cook for 10 in high flame and then lower it to min for last 5.
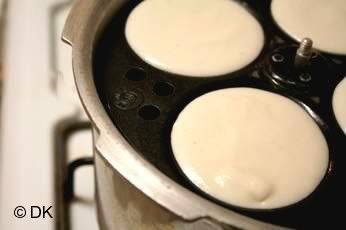
6. They are done when a little stick/spoon pricked in the middle comes out clean.
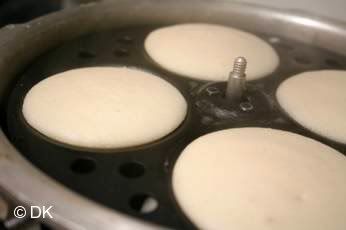
7.Cool them for 1-2 minutes and then serve warm with suggested accompaniments.

Warm South Indian Breakfast ready! :)

This South Indian traditional Breakfast dish finds its way to Susan's MLLA event Seventh Helping hosted by Valli this time around


